
Are You Trying to collect Online Payments. Here We have discussed about 5 Best way to Set Up Razorpay Payment Gateway. Let’s go find out how to Set Up Razorpay Payment Gateway in 5 Easy Steps.
In this article, we will learn how to integrate a payment gateway with a WordPress website. If you want to sell products or services online? Creating an app or website can be a daunting and expensive task. There are many online forums that can help you create a website for free.
One of them is WordPress. With WordPress, you can create a website for free. If you want to have your own domain, you can also get one with WordPress. Once your WordPress site is set up, just connect your payment gateway to it and start selling your stuff.
With the easiest integration, fully online driving, all features and best-in-class performance, you can get started right away with Razorpay Payment Gateway and enjoy the future of payments.
We need the following to integrate payments with the website.
WordPress website with WooCommerce plugin.
You need a Razorpay payment gateway account to collect payments.
Let’s see the whole process step by step below.
Step 1: Create a Razorpay Payment Gateway Account
To create a Razorpay account, click here and fill in the required information such as name, email, mobile number and other business details. You can also use your Google email account to create an account.

MUST READ
How to Install WordPress in Hostinger in 2023
Picoworkers Payment Proof With 10 Best Features
Step 2: Generate API Keys
When you have an account with Razorpay, You will get a Test Dashboard for Now. To get a live dashboard you must submit your business details and account details. Let Razorpay Team verify your details . After verification go to your dashboard and generate API keys by going to following page-
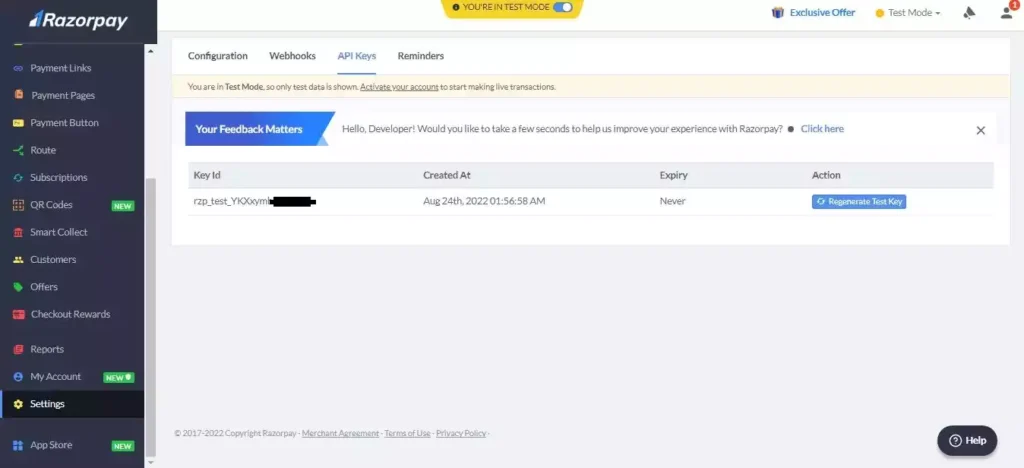
Dashnoard > Settings > API Keys
On the above screen, you will need to generate API keys for both test and live mode and save the key ID and secret key. Below you will find the navigation for each mode.
API key generation screen in test and live mode.
Now that we have completed part I, let’s move on to part II, which will be installing the WooCommerce plugin and integrating the Razorpay payment gateway. Here are the steps.
Step 3: Install WooCommerce Plugin
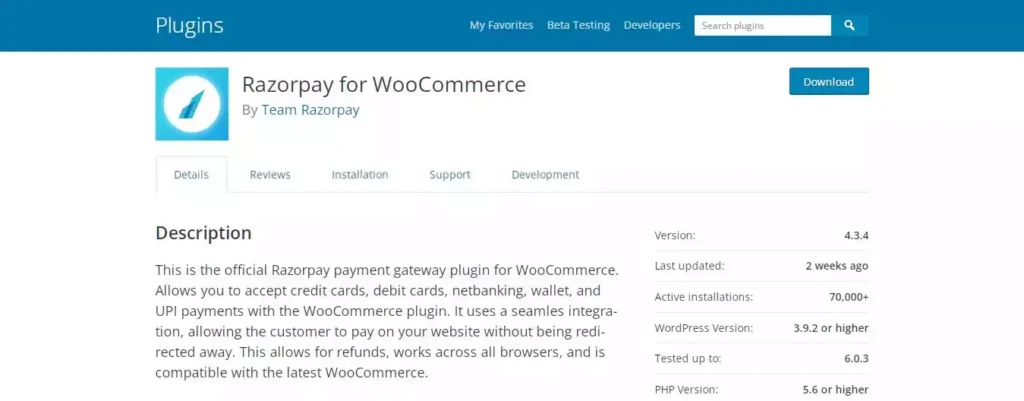
Go to the link and install the Razorpay plugin for WooCommerce on your WordPress site.
Now you are almost done with payment integration, follow these steps.
Go to WordPress setting page and go to payment setting. On payment page you will get input option for Razorpay APIs. Fill all the details and save the information. Use the saved API key we saved when you created your Razorpay account.
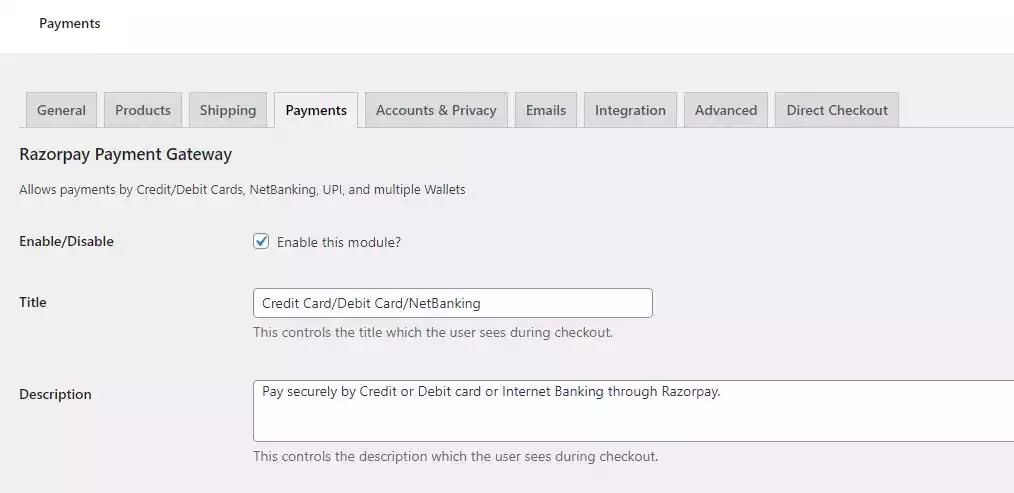
Now test your payment page and API in both test and LIVE mode. Once you are satisfied you are good to go.
You are now fully ready to accept payment from your WordPress site and it is now live!
You will get all your transaction details on Razorpay Payment Gateway dashboard. In the transaction section of razorpay you will get detailed analysis of each transaction. For settlement you have to input your bank details. You will get your every settlement directly in your bank account.
I hope this article has helped you in setting up your payment system with your WordPress site.
If You like our efforts, please leave a beautiful comment below, and share Razorpay Payment Gateway to your friends.
If you have any questions and suggestions, you can write them in the comment section. Thank you very much and I wish you a pleasant learning!
2 thoughts on “Set Up Razorpay Payment Gateway in 5 Easy Step”